Animation with Autolayout
1 Oct 2015
ios programming development UI UX autolayout animationLots of apps take advantage of autolayout, and if your app isn’t currently you really should check out implementing it. Autolayout is a great tool for getting all your UIView components to be in the right place and be the right size. Animation is just the movement of objects. Sort of seems like we have two diametrically opposing concepts here; autolayout to get things in the right place with the right size and animation to move those same things around. They’re not though and here’s why: autolayout ensures the correct position of the UIViews before and after any animation (i.e. scaling, translation, etc.).
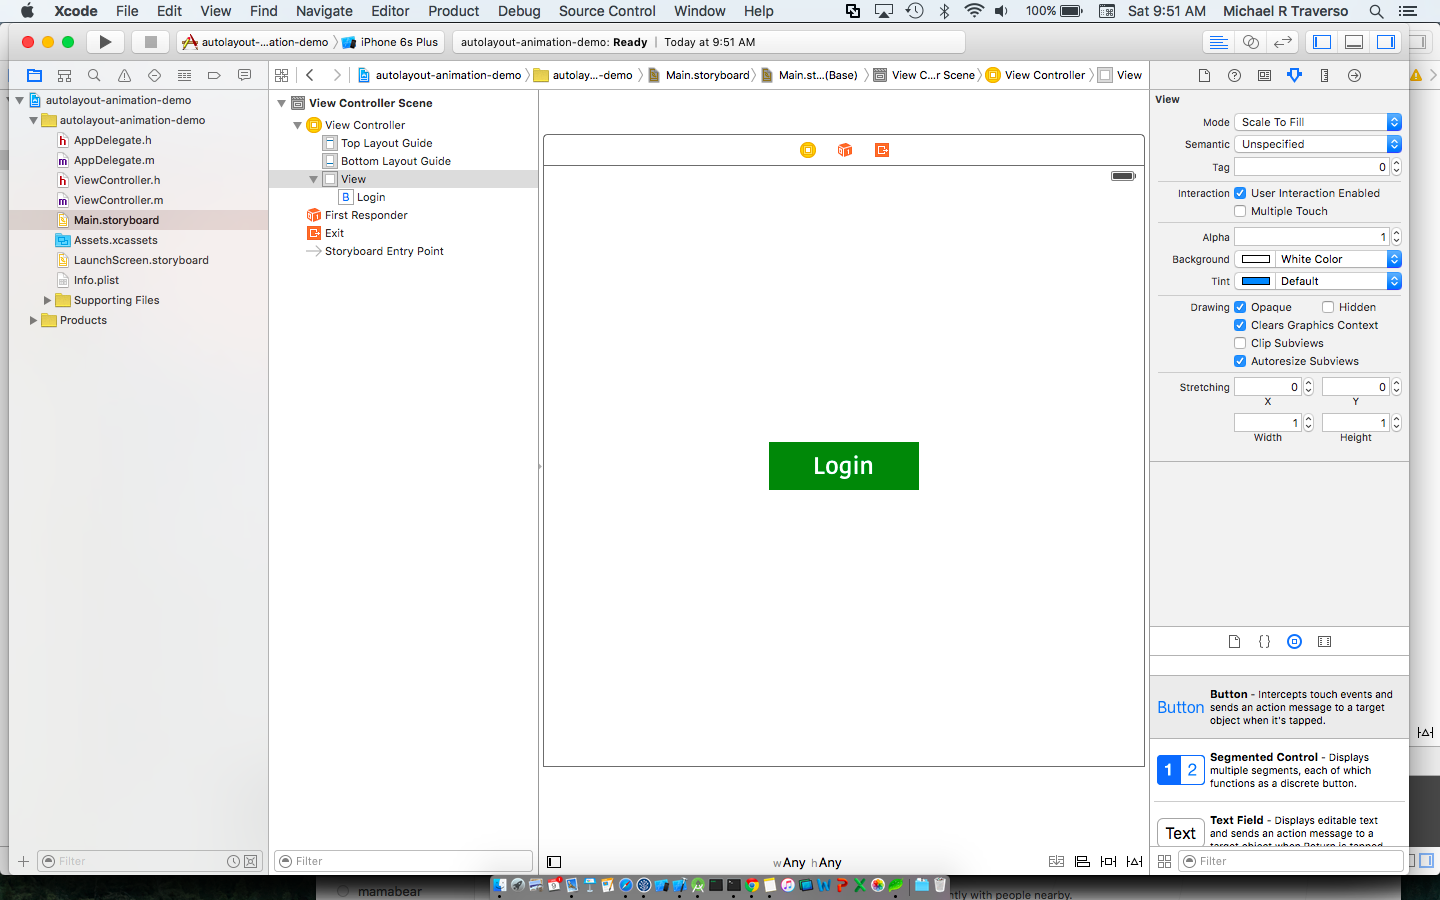
In the scenario below we’re going to animate a UIButton into a view with a move up and fade in animation. First let’s go ahead and find the XIB or Storyboard that we want to add the button to.
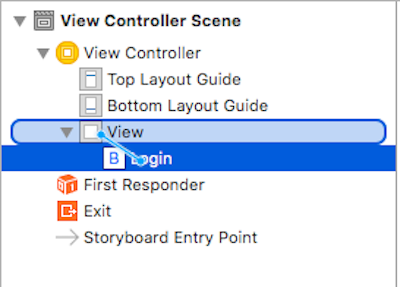
Next we will use autolayout to ensure that the button is in the center of the view with a specific width and height. If you need a refresher on how to setup constraints, hold the Control key down then click and drag from the view you want to impact to the view you want to create a relationship to. In our scenario we want to create constraints between the UIButton and the super view. We also want to establish height and width constraints. To do this, hold Control down and click & drag from the UIButton and release while still moused over the UIButton. You should see the ‘Height’ and ‘Width’ options from the context menu.
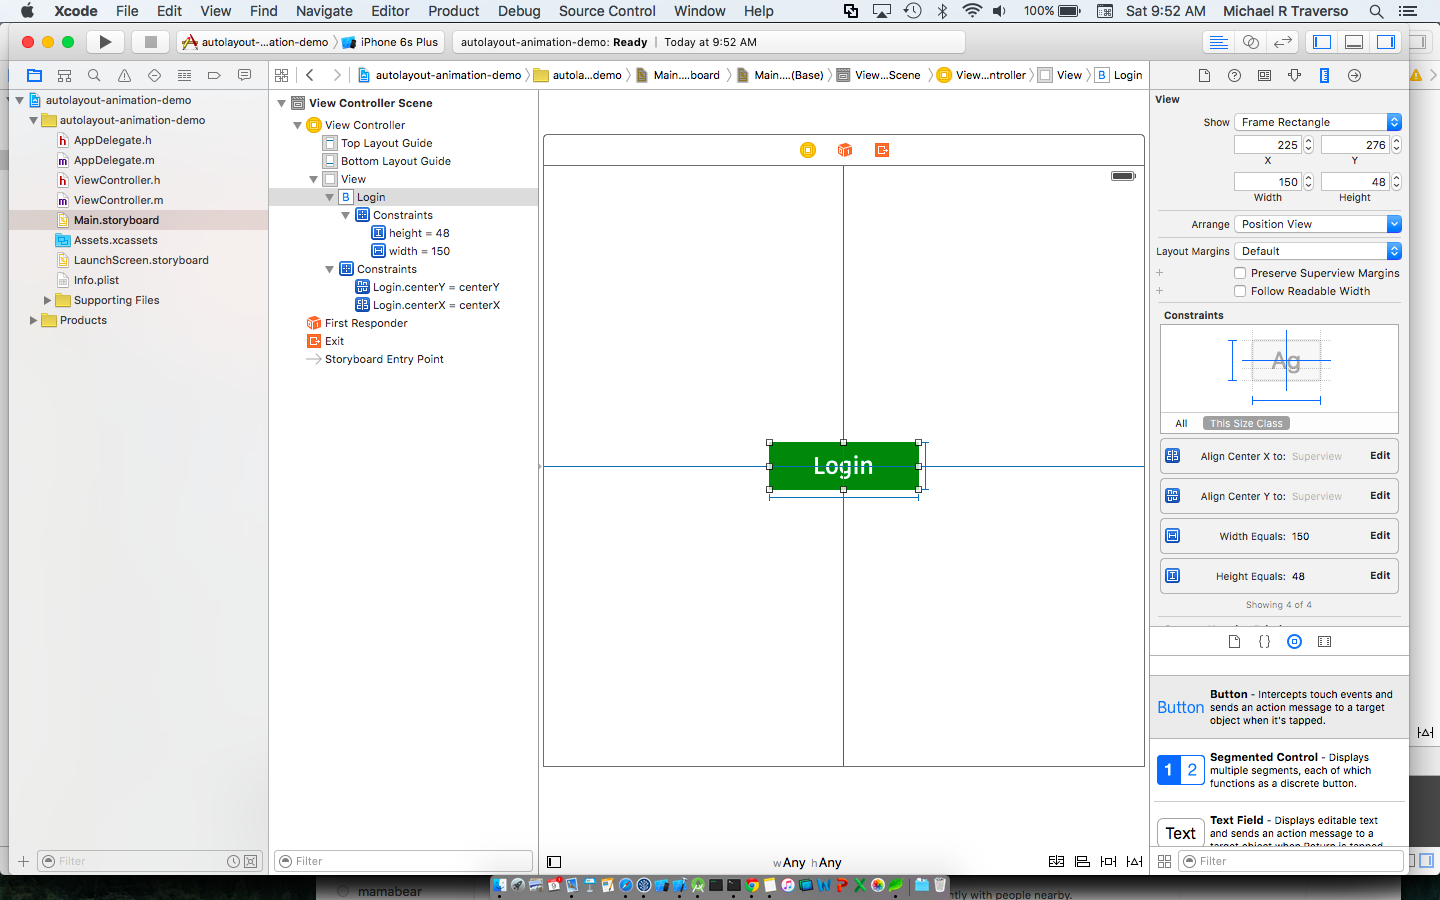
First create a constraint between the button and the super view to Center Horizontally in Center. Then create a constraint between the button and the super view to Center Vertically in Center. Finally, create two more constraints for the button’s height and width. When you’re done setting up the constraints it should look similar to this.
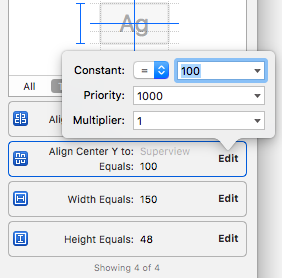
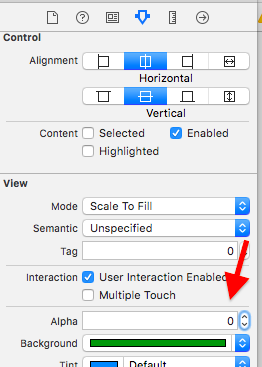
Next up we’re going to go ahead and set the constant value of the Center Vertically in Center constraint. Our goal is to animate the button up so we will first have to set its initial position a bit further down on the view. In this case, let’s say 100 points. Now our button is 100 points south of where we want it to be when we’re done animating.
Let’s juice this up a bit and have it fade in while it moves up. To fade it in, it must first be faded out. Setting the alpha level on the button itself will do the trick
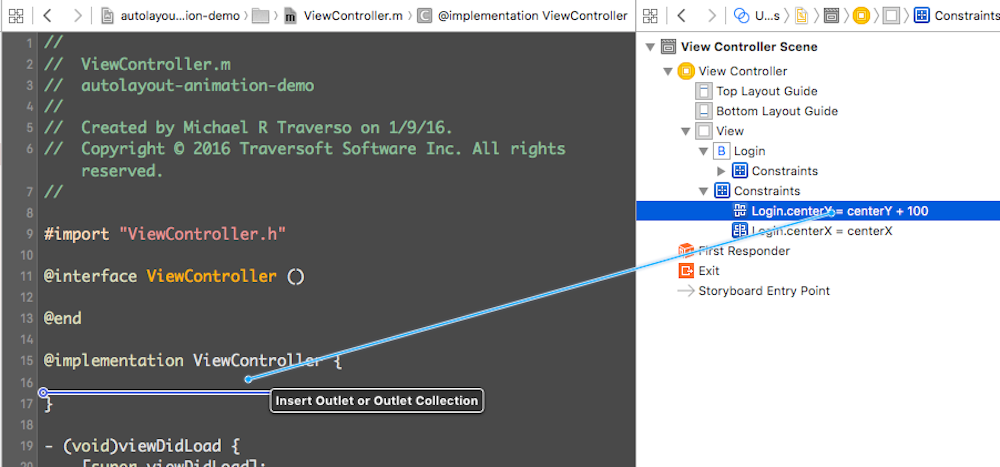
Cool, we’re almost done with interface builder. We’ll just go ahead and create outlets for the button and the button’s vertical constraint within the view. Go ahead and create these constraints. Lots of times properties are created in the header file but if you don’t need to expose these properties to other classes we can go ahead and keep them private within the implementation. While it’s pretty well known on how to create the property for a button, you may not have done this for a constraint. Luckily though it’s just as simple. Instead of dragging from the button, find the constraint and click and drag from there as seen in the screenshot below.
Your constraints should look pretty much like this:

Now for the final part. Adding in the animation. To animate with autolayout we will change the constant of the vertical constraint. Remember we initially set this to be 100. We want to animate the button back to the center of the screen so we can set this constant value to 0. If we were to add this constant change to the animations block of a [UIView animateWithDuration:animations] call we would see the button in the place we want it but no animation. The reason being that setting the constant is just the first step. The actual change happens when the layout is redrawn with the new constraint constant. So if we set the constraint constant and then in the animation block make a call to layoutIfNeeded we will see the animation occur where the button starts out 100 points off of center and moves up to center. Inside the animation block we’ll add a call to set the button’s alpha level to 1 so that it’s fully visible. Check out the snippet below where we have this coded up in the viewDidAppear method of the view. Following the code snippet we have a sample of what this animation will look like on the device. Play around with the duration value but remember users didn’t download your app to watch animated feature films so keep them relevant and don’t keep users waiting for complex animations to happen before they can use your app.
- (void)viewDidAppear:(BOOL)animated {

    [super viewDidAppear:animated];

    constraintButtonVertPosition.constant = 0;

    [UIView animateWithDuration:.5f animations:^{
        btnLogin.alpha = 1;
        [btnLogin layoutIfNeeded];
    }];
}
And here it is in action… hope this helps!
